
Oven Door Not Closing Properly? Here's Exactly How We Diagnosed and Fixed One in Chicago
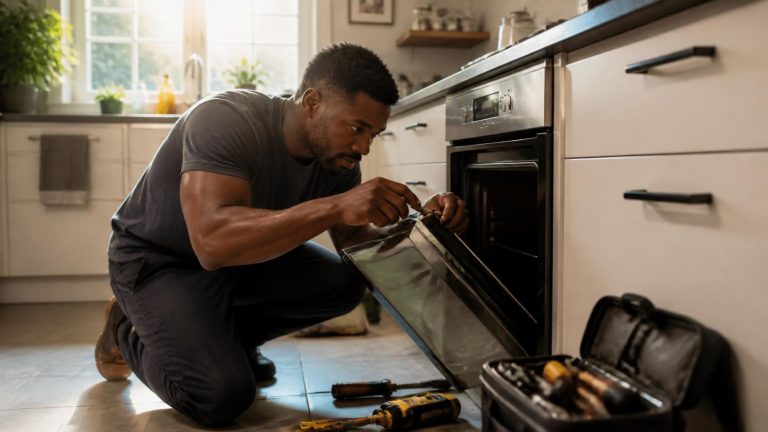
A step-by-step look at a real oven repair, from a gapping door to a tight, even seal
A door that won’t close all the way looks like a simple fix, until you realize it’s also quietly driving up cook times and energy use every time the oven runs. In this case, the visible problem and the real problem weren’t quite the same thing. Here is the exact diagnostic process our certified technicians used to find both, fix them in a single visit, and get the door sealing tight again.
Case Snapshot
The Problem
A Gap at the Top That Was Costing More Than Looks
The oven door had developed a visible gap at the top, most noticeable when the oven was running and heat could be felt escaping near the top edge. The homeowner had noticed recipes were taking longer than expected and assumed the oven itself was underperforming. Door issues can come from a few different sources (a worn gasket no longer sealing properly, a sagging or broken hinge, a bent door frame, or a misaligned latch) so confirming exactly what’s letting heat escape matters more than just looking at the gap and guessing.
The Diagnostic Process
Five Checks, In Order
Our certified technicians follow the same sequence on every door not closing call, because a visible gap can come from the seal, the hardware holding the door shut, or both at once.
Visually inspect the door gasket for wear, tears, or flattening
The gasket runs around the door's perimeter and should sit evenly against the oven frame when closed.
Sections visibly flattened, no longer springing backCheck hinge tension and movement with the door open and closed
Hinges should hold the door firmly at any open angle and snap it fully closed under spring tension.
Noticeable play, not pulling the door fully shutInspect the hinge springs and mounting points for damage
Since the hinges showed play, the springs and their attachment points were checked directly.
One hinge spring stretched and weakenedCheck the door frame and latch alignment
Checked to rule out a bent frame or misaligned latch as a separate contributing factor.
Confirmed straight and properly alignedTest door closure and seal with all components addressed
After identifying both issues, a test closure was performed to confirm the door sat flush.
Gap fully resolvedThe Root Cause: A Worn Gasket Plus a Weakened Hinge Spring
Two things were contributing to the gap at once: the door gasket had flattened from years of use and was no longer creating a proper seal even when the door closed normally, and a weakened hinge spring meant the door wasn't being pulled fully shut in the first place. The hinge issue was allowing a visible gap, and the worn gasket meant that even a fully closed door wouldn't have sealed heat in properly on its own.
The Fix & The Result
Fixed by Replacing Both the Gasket and the Hinge
The technician replaced the worn door gasket and the weakened hinge, then tested door closure and seal integrity across multiple open-close cycles to confirm the door was sitting flush and sealing evenly around its full perimeter before completing the visit.
The door now closes flush with no visible gap, and cook times have returned to what recipes call for. This is the outcome we aim for on every door not closing call: check both the seal and the hardware holding the door shut, since a gap can come from either one, or both at once, working against you.
Beyond This Case
Common Causes of an Oven Door Not Closing
Not every case matches this one. Here are the most common reasons an oven door won’t close properly, from easiest to most involved.
| Cause | How Common | DIY Fixable? |
|---|---|---|
| Worn or flattened door gasket | Very common | Yes, gaskets are often user-replaceable |
| Sagging or weakened hinge spring | Common | Sometimes, if accessible and the correct part is used |
| Broken hinge | Common | No |
| Food debris or buildup preventing full closure | Common | Yes |
| Misaligned latch | Less common | Sometimes |
| Bent or warped door frame | Less common | No |
Brand-Specific Notes
This Happens Across All Major Brands
Gasket wear and hinge fatigue show up across all major brands we service, including GE, Whirlpool, Samsung, KitchenAid, and Bosch, especially on ovens that see frequent use. Our certified appliance technicians have experience diagnosing oven door issues across all these brands and more.
Prevention
Keep the Door Sealing Tight
- Clean around the door gasket and hinge area regularly to prevent debris from affecting closure
- Avoid slamming the oven door shut, which accelerates hinge wear over time
- Check the gasket periodically for flattening, tears, or gaps you can see light through
- Address a door that's slow to close or feels loose early, rather than waiting for a full gap
- Avoid hanging towels or other weight on the oven door handle, which stresses the hinges
Before You Call
DIY vs. Calling a Professional
Reasonable to try yourself
Cleaning debris from around the door and gasket, and visually checking the gasket for obvious tears or flattening, are reasonable first steps a homeowner can try before calling for oven repair.
Call a certified technician
Replacing a hinge or diagnosing whether the issue is the hinge, the gasket, or both usually requires disassembly, which is where calling a certified technician avoids replacing the wrong part first.
FAQ
Oven Door Not Closing: Common Questions
Answers to the questions we hear most on oven door calls in Chicago.
Why is my oven taking longer to cook food since the door stopped closing right?
Can I replace the door gasket myself?
How much does it cost to diagnose an oven door issue?
Is a gap in the door a safety issue, or just an efficiency issue?
How do I know if it's the hinge or the gasket causing the gap?
How long do oven door hinges usually last?
Can a door gap get worse over time if I don't fix it?
Do all oven brands have the same door and hinge issues?
Oven Door Not Closing?
Get It Diagnosed the Right Way, the First Time
Same-day and next-day appointments available across Chicago and the surrounding suburbs. $89 diagnostic fee, waived with repair. 10% off your first repair.