
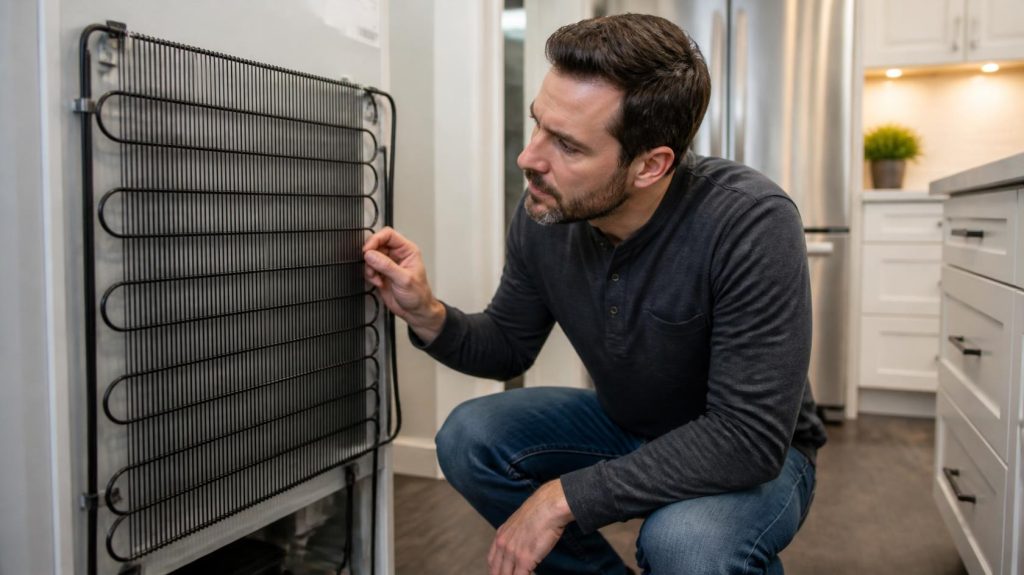
Refrigerator condenser coil cleaning is the one maintenance task almost every homeowner skips, right up until the fridge starts running nonstop or the energy bill jumps for no clear reason. It’s not a hard job. It’s just an invisible one. The coils sit out of sight at the back or bottom of the fridge, so dust and pet hair build up for months, sometimes years, before anyone notices.
That buildup isn’t cosmetic. Every layer of dust trapped on the coils makes it harder for the fridge to release heat, so the compressor has to run longer and work harder to keep up. Over time, that extra strain is what turns a $15, 20-minute cleaning job into a $700+ compressor repair. If you’ve got pets, live in an older Chicago building, or just haven’t thought about your coils since you moved in, this is worth 20 minutes of your afternoon.
Here’s how to do refrigerator condenser coil cleaning yourself, how often it actually needs to happen, and the point where the problem has moved past what a cleaning can fix and into refrigerator repair or appliance repair territory.
Table of Contents
- Why Refrigerator Condenser Coil Cleaning Protects the Compressor
- Why Pets and Older Homes Make This Worse
- Signs Your Coils Need Cleaning
- How Often to Clean Refrigerator Condenser Coils
- What You’ll Need
- Step-by-Step: How to Clean Refrigerator Condenser Coils
- Warning Signs It’s Gone Past DIY
- Brand-Specific Notes
- Prevention Checklist
- FAQ
Why Refrigerator Condenser Coil Cleaning Protects the Compressor
The condenser coils are the part of your refrigerator that releases the heat pulled out of the fridge and freezer compartments. They only work efficiently when air can move freely across them. Dust acts like insulation: it traps heat against the coils instead of letting it dissipate into the room.
When that happens, the compressor doesn’t get a break. It runs longer per cycle and cycles more often, trying to compensate for coils that can’t shed heat properly. That’s the direct line between a dusty coil and a shortened compressor lifespan. The compressor is also the single most expensive part to replace in a refrigerator, so refrigerator condenser coil cleaning is really compressor protection dressed up as a chore.
We’d rather you spend 20 minutes cleaning coils twice a year than call us for a compressor repair that a cleaning could have prevented. That’s the proactive side of appliance repair: catching the small, free fix before it becomes the expensive one.
Why Pets and Older Homes Make This Worse
Two things speed up coil buildup faster than almost anything else, and both are common across Chicago:
- Pets. Shedding fur gets pulled toward the coils along with dust, and it mats into a thicker, denser layer than dust alone. A household with a dog or cat can see coil buildup two to three times faster than a pet-free home.
- Older housing stock. A lot of Chicago’s two-flats, courtyard buildings, and vintage apartments run radiator heat, which dries out the air and kicks up more airborne dust during the winter months. Older kitchens also tend to have tighter clearances around the fridge, which restricts airflow even before dust becomes a factor.
If your home checks either box, the standard cleaning schedule below isn’t really the right one for you. Plan on the shorter interval instead.
Signs Your Coils Need Cleaning
- The refrigerator runs constantly instead of cycling on and off
- The back or bottom panel feels noticeably warm or hot to the touch
- Your energy bill has gone up without an obvious reason
- The fridge or freezer isn’t staying as cold as it used to
- You can see visible dust or pet hair through the vents or grille
If your fridge is already running nonstop, we’ve broken down that specific issue, including dirty coils as one of the leading causes, in our refrigerator running constantly case study.
How Often to Clean Refrigerator Condenser Coils
For an average household, refrigerator condenser coil cleaning every 6 to 12 months is enough. Shorten that to every 3 to 4 months if any of the following apply:
- You have a shedding dog or cat
- You live in an older building with radiator heat or limited airflow around the kitchen
- You cook frequently with oil, which adds grease on top of the dust
- Your fridge sits in a garage, basement, or other dusty space
If more than one applies, lean toward the 3-month end of that range rather than the 4-month end.
What You’ll Need
- A vacuum with a hose and brush attachment
- A long, flexible coil-cleaning brush (inexpensive at most hardware stores)
- A microfiber cloth or soft rag
- A flashlight, if your coils are in a dim spot
This is a genuinely DIY-friendly job. No tools beyond what’s listed above, no disassembly beyond a cover panel, and no risk to the fridge if you follow the unplug step first.
Step-by-Step: How to Clean Refrigerator Condenser Coils
- Unplug the refrigerator. Always disconnect the power before you start. This protects you and prevents any accidental damage to the unit.
- Locate the coils. Check the back of the fridge, the bottom behind a front grille, or underneath depending on your model. Your owner’s manual will show the exact location if you’re not sure.
- Pull the fridge away from the wall, if needed. Move slowly and watch for the water line if you have an ice maker or water dispenser, so you don’t pull it loose.
- Remove the grille or cover, if there is one. Most bottom covers are held on with a few screws or simple clips. Take a quick photo first so you remember how it goes back on.
- Vacuum and brush the coils. Use the brush attachment to loosen dust, then vacuum it away. The flexible coil brush works well for tight or zigzag-shaped coils a vacuum nozzle can’t reach directly. This is where pet hair tends to be the most stubborn, so go over the coils twice if you have pets.
- Wipe down the surrounding area. A damp microfiber cloth picks up any leftover dust on nearby surfaces.
- Replace the cover, plug the fridge back in, and push it back into place. Leave a few inches of space around the unit so air can circulate.
Give the fridge about 20 to 30 minutes to return to its normal temperature before restocking it.
Warning Signs It’s Gone Past DIY
Refrigerator condenser coil cleaning solves a real share of “running constantly” and “not cooling enough” complaints, but it isn’t a fix for everything. If you’ve cleaned the coils and any of these are still true, the coils weren’t the whole story:
- The fridge is still running nonstop a day or two after cleaning
- It’s still not holding a safe temperature
- You hear new or louder noises than before
- The compressor area still feels excessively hot even after cleaning
Those point to something a cleaning can’t reach: a failing evaporator fan, a weak compressor, a thermostat that’s no longer reading correctly, or a refrigerant issue in the sealed system. At that point, a technician needs to diagnose the actual cause instead of guessing at parts, which is where refrigerator repair takes over from maintenance. Our certified appliance technicians can pin down the real issue instead of replacing parts on a hunch, which is the same approach we cover in our refrigerator not cooling case study. If that sounds like where you’re at, book a diagnostic and we’ll take it from there.
Brand-Specific Notes
Coil placement and access vary somewhat by brand and model. Some newer refrigerators, including certain models from Sub-Zero, Viking, and other built-in or panel-ready lines, have coils that are harder to reach or require removing a toe kick panel rather than a simple back cover. If you’re not comfortable accessing the coils on a built-in unit, our certified appliance technicians with experience across major and luxury refrigerator brands can handle it as part of a routine visit.
Prevention Checklist
- Set a reminder to clean the coils every 6 months, or every 3 to 4 months with pets or an older, dustier home
- Keep a few inches of clearance around the back and sides of the fridge for airflow
- Vacuum under and behind the fridge when you clean the coils, not just the coils themselves
- Watch for the early warning signs above rather than waiting for the fridge to stop cooling